Sparks  Fly
Fly
[Home] [PBS
VideoDatabase] [Social Studies] [TSU]
[UVA]
|
Sparks
|
|
Shaded
Backgrounds: Create Your Own Create
your own shaded backgrounds using a shaded autoshape. Use the Format menu, Background command.
This will always be a rectangle. If
you want to make it interesting, let's create the background using an autoshape
with fill effects. To
begin open a new, blank slide and display the alignment guides by pressing [Ctrl]G.
Move the guides to the edges of the slide then add a horizontal and
vertical guide to the slide's other edges by pressing [Ctrl] and dragging and
existing guide. Now click the Zoom
edit box and type in 10 and press [Enter]. Click
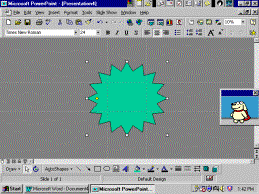
the AutoShapes dropdown arrow on the Drawing toolbar, point at the Stars and
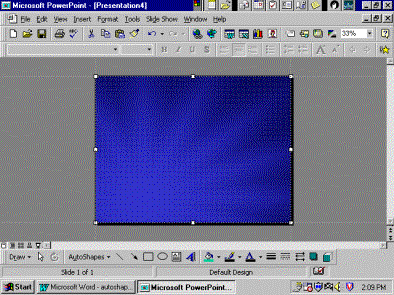
Banners option and select the 16-point Star tool. Draw a shape larger than the slide as shown below.
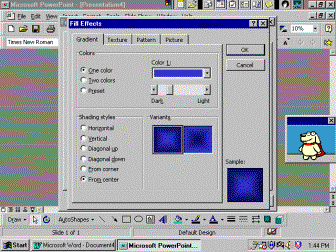
Now recolor the shape by first double clicking it Choose
the Colors and Lines tab. Click the
Fill panel's Color dropdown arrow, choose Fill Effects…option, select the
Gradient tab.
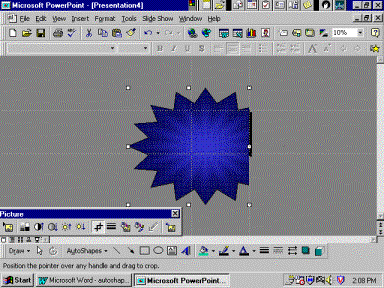
Now
that we have colored the AutoShape we need to move it so that it forms an
interesting shading on the slide. This
is why we use the guide lines. If
you move the star so that the points are at the edge of the slide but still
covering it, you will get an interesting off-centered pattern. Now
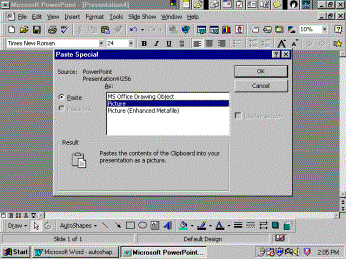
we need to clip off the extra shape. The
only way to do this is to cut the shape and paste it as a picture.
To do this select the shape, click on the cut button on the tool bar or
press [Ctrl]X. Then pull down the
Edit menu, choose Paste Special…, select the Picture option and click OK.
Return to Presentations Handout
|
| This page was updated on: 04/10/02 |