Sparks  Fly
Fly
[Home] [PBS
VideoDatabase] [Social Studies] [TSU]
[UVA]
|
Sparks
|
Microsoft
Outlook 97
Microsoft
Outlook is an excellent tool for organizing personal information. Imagine
having all of your address, e-mail, calendar and telephone information in the
same place. One that allows you to easily add new information and organize old
information. Microsoft Outlook provides such a place. Outlook is
much more than an electronic personal information manager. It is a phone book
that makes calls for you, and it incorporates e-mail, phone and fax
capabilities. Outlook will even allow you to schedule meetings. Once you specify
the participants, Outlook will electronically obtain their available hours so
that you can choose the best time. Outlook
Basics
Outlook
contains several major features:
For each one
of these six features, Outlook offers a separate screen. You can easily jump
from screen to screen. Of course, the information you enter in one screen is
available in all other screens, if you need it. For example, whatever you tell
the Contacts Manager is no secret to your Mail Manager. All the screens look and
act alike. Once you figure out how to use the Contacts screen, you will have no
difficulty managing the other five screens. When you
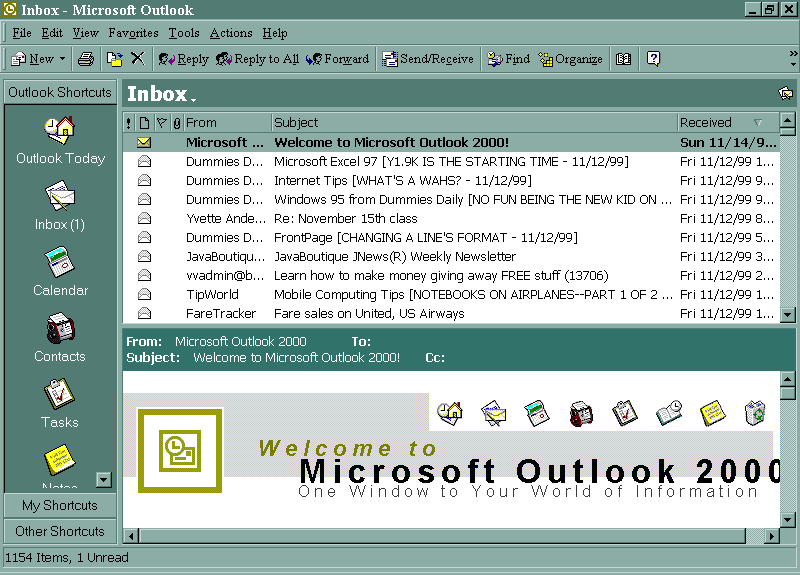
open Outlook, the following screen appears:
Contacts
Management The Contacts
Screen Click on
Contacts in the left part of the screen. The Contacts Manager screen appears on
the right side: How to
Create a New Contact To create a
new contact, simply press the New Contact button on the toolbar. Tip:
Remember this tip for all six features of Outlook. The button in the upper left
corner creates a new object of the respective type. When Contacts is open, the
button is used to create a new contact. If the Tasks screen is active, the
button in the upper left corner will create a new task. Tip: Any
time you see a button with a down arrow, click on it! Outlook will then provide
you with several options to select from. If you don't like any of these options,
then you can type your own. When you
press the New Contact button, the Contact dialog box appears. Updating the
Info About a Contact To update
the data about a contact, simply double-click the contact. The Contact dialog
box screen will appear with all the information you have already entered about
the contact you selected. Make all the desired changes and press the Save and
Close button. Organizing
Your Contacts The default
view that Outlook offers is Address Card. There are, however, other ways to
organize your contacts. Press the Categories button. You will be able to change
the way in which you view your contacts.
Also,
whenever you have a table you can control which fields are included in the
table. Simply click the View menu and select Show Fields. Choose the options you
desire in the Show Fields dialog box. Calendar The Screen Click on the
Calendar icon in the left section of the screen. The Calendar screen appears:
Creating a
New Appointment To create a
new appointment, click on the New Appointment button. The Appointment dialog box
appears. Creating
Recurring Appointments If you click
on the Recurrence button, the Appointment Recurrence dialog box appears in which
you can specify the type of recursion. Updating/Rescheduling
an Appointment To update or
reschedule an appointment, switch to a view that shows the appointment. Then
double-click the appointment you want to update/reschedule. The same box that
you used to create the appointment will appear again. Change any of your initial
choices and press the Save and Close button on the toolbar. Organizing
Your Appointments As it does
with Contacts, Outlook offers several alternative ways to organize your
appointments. The one that you have seen already is the Data/Week/Month view.
Here are some of the other options:
To change
views, simply choose the view you want from the View menu. Scheduling a
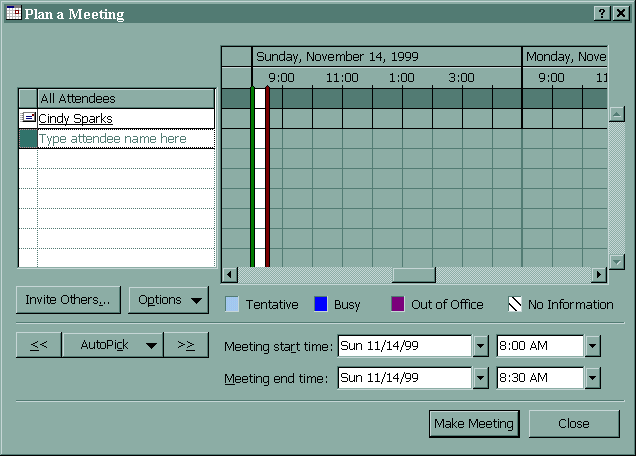
Meeting One of the
most attractive features of Outlook is that it can help you schedule meetings
with your contacts. 1.
Click on the Plan a Meeting button on the toolbar. The Plan a Meeting
dialog box appears:
When you
click the Invite Others button, the Select Attendees and Resources dialog box
appears with the names of individuals that you have in your contacts list. When you
press OK, you will return to the Plan a Meeting dialog box. You will see the
available hours of the selected attendees and will be able to choose a time
convenient for everyone. After you find an appropriate time, you will be ready
to e-mail the invitations by pressing Make Meeting. A screen appears (notice
that this is essentially the regular Create New Appointment box discussed
earlier, with some slight differences) to issues the invitations. The invited
contacts will receive a message that looks very much like the above figure. The
contacts will have to click on Accept, Tentative or Reject. If they have time,
they can include a message as well, but they can handle your request with single
click. When they respond to you, you will see their answer (Accept, Tentative,
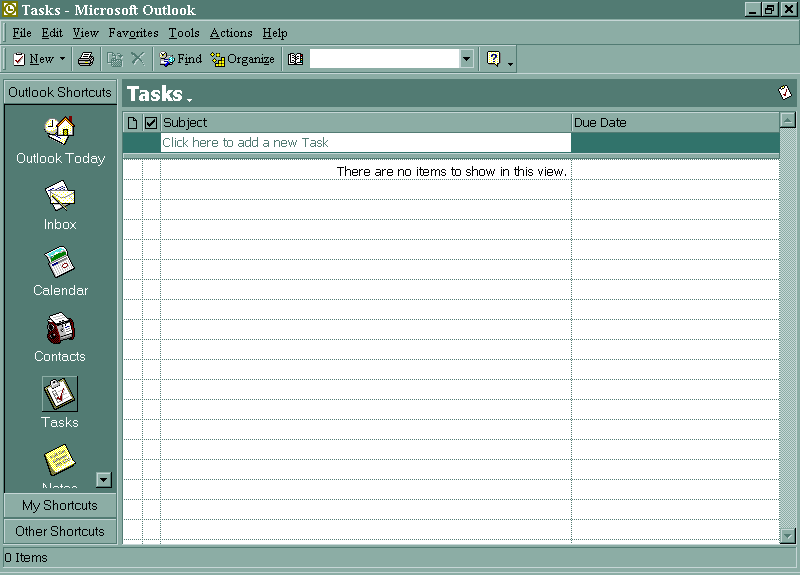
or Reject) in your e-mail box. You won't even need to open their reply message. Tasks The Screen Click on the
Tasks icon in the left section of the screen. The Tasks screen appears as
follows:
Creating a
New Task To create a
new task, click on the New Task button. The Task dialog box appears. Notice that
it looks and operates very much like the New Appointment dialog box. Recurring
Tasks If you click
on the Recurrence button, the Task Recurrence dialog box will appear. Too
schedule these types of tasks, follow the same steps that you did for recursive
appointments. Updating/Rescheduling
a Task To update or
reschedule a task, switch to a view that shows the task. Then double-click the
task. The same box that you used to create the task will appear again. Change
any of your initial choices and press the Save and Close button on the toolbar. Organizing
Your Tasks As with the
previous features, Outlook offers several alternative ways to organize your
appointments. The one that you have seen already is the Simple List view. Here
are the other options:
To switch
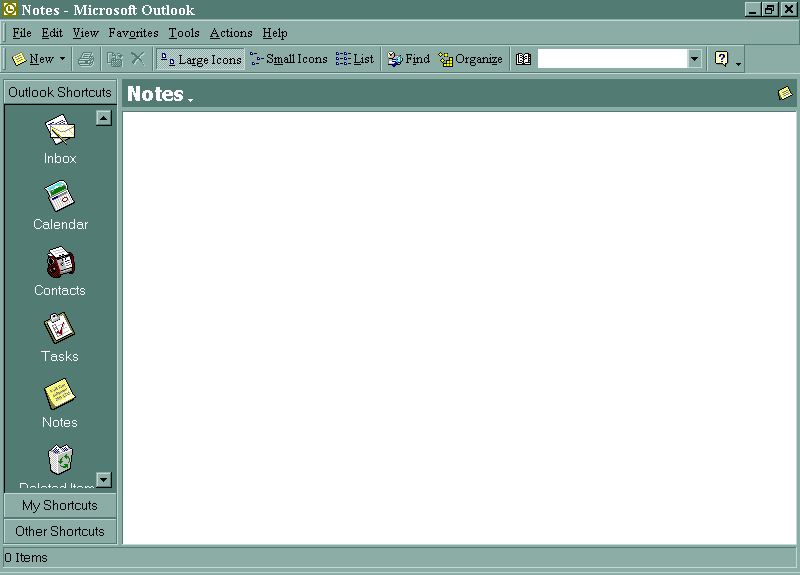
views, simply choose the appropriate view from the View menu. Notes The Screen Click on the
Notes icon in the left section of the screen. The Notes screen appears:
Creating a
New Note To create a
new note, click on the New note button. Updating a
Note To update a
note, double-click its icon. The same box that you used to create the note will
reappear. Make your changes and click the X in the upper left corner of the box. Defining the
Category of a Note You can
organize your notes better if you define the category to which they belong. To
do that, simply right-click the note and choose Categories from the pop-up menu
that appears. Outlook will give you a chance to choose from a set of categories
as well as to define a new category: Organizing
Your Notes The default
view for notes is the Icons view. You can also organize your notes in the
following ways:
To change
views, simply choose an alternate one from the View menu. Mailing a
Note to a Contact To mail a
note to someone else, simply right-click the note and choose Forward from the
pop-up menu that appears. The regular Send Mail dialog box will appear. Details
about the options in this box are discussed in the "Mail" section. Journals What Are the
Journal Entries? The Journal
is essentially a diary. It tracks all your appointments, activities, tasks and
so on. When you click on the Journal icon on the left side of the screen, the
Journal window appears: What Do You
Need to Keep Track of? Since it is
often tedious to keep track of your work manually, Outlook can record your
activities for you. Here is how you can specify the activities that need to be
recorded:
Mail Receiving
Mail Click the
Mail icon on the left side of the screen to view the mail icons (Inbox, Outbox,
Sent Mail). Then press on the Inbox icon again on the left side of the screen. Sending Mail To send
mail, you do not need to move to a different screen. In Outlook, you receive and
send mail from the same location-the Inbox screen. To send new mail, press the
New Mail Message button. Microsoft
Binder
Microsoft
Binder acts as a tool or utility that helps organize different types of
documents. It provides easy access to all your documents from a single place. Think of
Binder as the "glue" that brings together documents from all the
Office applications into one place. The documents are combined into units, known
as binders. It is possible to simply drag the documents from the various Office
applications into the binder. It is
important to note that the two words "Binder" and "binder"
have separate meetings. Binder refers to the actual software program, while
binder means one of the document containers. A binder can store a combination of
binders (such as two Word documents, three PowerPoint presentations, etc.). The Binder
acts as a control tower from which it is possible to obtain access to any or all
of the documents you have created within the scope of the Office environment.
This saves you the trouble of having to launch the applications separately from
the particular application it was created in. To activate a document, simply
click on it. Binder is also invaluable when it comes to printing, because it is
possible to print the entire contents of the binder, even if it's composed of
documents created in different applications, with a single command. How to Use
the Binder Starting
Binder There are
two ways to start the Binder: from the Windows 95 Start menu or from the Office
97 Shortcut Bar. From the
Start Menu
From the
Shortcut Bar Click on the
Binder button if the Shortcut Bar is available. Adding
Existing Documents There are
two methods for adding existing documents to a binder:
The
Drag-and-Drop Method
Using the
Menus
Adding New
Documents
Saving a
Binder
Opening a
Binder
Editing
Documents in Binder A binder can
be used as a central point for editing your documents. Simply click on the
appropriate document icon in the left pane of the Binder window and proceed to
edit the document. Moving and
Copying Documents Inside the Binder To move a
document that is in a binder, click on the icon that represents the document in
the left pane of the window. Then drag it to the desired location. It is
possible to drag the documents between the left pane of the Binder window and My
Computer. Renaming
Documents To rename a
document in a binder, double-click on the icon that represents the document and
enter the new name in the text box containing the old name. Press ENTER when you
are finished. To Delete a
Document To delete a
document in a binder, right-click on the icon of the document you want to delete
and press the DELETE key. Printing Print
Preview Before
printing, it is always a good idea to preview the document to make sure it
appears the way you want it to. To preview the printable form of the document,
select Binder Print Preview from the File menu. Click on the Close Preview
button after you have viewed all the sections. Printing an
Entire Binder It is
possible to print the entire contents of a binder by giving a single command. To
print, from the File menu, select Print Binder. The Print Binder dialog box will
appear. After you have verified your print settings, click on OK. If you wish
to print multiple documents:
To print
only single documents:
Printing
Headers and Footers Binder is
equipped with a feature that allows you to print the same header/footer for a
group of sections or for all the sections. This saves time because it
automatically prints common headers and footers for more complex reports that
are made from different Office documents.
Advantages
of Using Office Binder Some of the
main advantages of grouping files in a binder are discussed in this section. Consistent
Section Order You have
freedom to arrange the sections in whatever order you would like. The order you
specify is saved with the binder file. The operating system limits and mainly
controls some of the ways you can sort documents. Consecutive
Page Numbers With
binders, you can print sections with successive page numbers, no matter what
type of Office applications the sections were created in. Easier to
Transfer E-mail It is
obvious that it is easier to send one whole file than each file separately
through e-mail. In Binder, you can send files created in different Office
applications as one e-mail file. Efficiency Binder is
more efficient and reduces the workload of the operating system because you're
opening one single file rather than several. Using
Briefcase It is
possible to use the Briefcase file synchronization program in Windows 95 to
allow a number of people to work on the same binder at the same time. Here's how:
Global Spell
Checking The new
Spell feature spell checks every single section automatically. This makes it
unnecessary to have a Spell Check feature in the Binder program itself. Limitations
of Office Binder As does
every Office application, Binder has its own limitations. Here's a rundown of a
few of them. Disabled
features. Some of the features are disabled in the program, such as the
individual application status bar. This allows only the Binder status bar to be
visible when you perform editing. You cannot create or edit macros inside the
sections. If you want to do so, you have to save that particular section as a
separate section, and then add the macro or change one that already exists. Large
physical files. The Binder files grow into large files as the content in the
binders increase. This might result in the physical file spreading all over your
hard disk. This happens, because the file becomes fragmented or disintegrated.
As a result, you may notice an increase in the time it takes for the binder to
load. To get rid
of fragmentation, open the binder. From the File menu, select Save Binder As to
save the binder with a new name. Delete the old binder file by choosing Delete
binder from the Edit menu. Rename the new binder with the name of the old
binder. Security Binder can
be regulated by any password you have set up for your documents. Binder will
prompt you for the password when you want to open the document. Tip: It is
possible to ensure a small amount of security by using the Read-only option of
the binder file using the Windows Explorer.
A better and
much more efficient to increase security is to save the binder on a read-only
network drive.
|
| This page was updated on: 04/10/02 |